sible Ink line has proven to be a real game changer in custom t-shirt-making. Cricut Infusible Ink is a permanent printing technology that generates vibrant and crisp designs on various surfaces. It's also resistant to heat and water. Use the new Cricut's infusible Ink line of products with your Cricut Maker or Cricut Explore Air to make professional-looking shirts, bags, coasters, and more from the comfort of your home.
Cricut Infusible Ink line products consist of pens/markers and transfer sheets. The transfer sheets are similar to a heat transfer vinyl sheet, but Cricut Infusible Ink pens differ from regular Cricut pens. We are sure you have many questions related to Infusible Ink Pens. Continue reading our blog to find answers to your questions.
What are Cricut Infusible Ink Pens?
Cricut Infusible Ink pens or markers are designed to work with the Cricut machine. Load them directly into the accessory clamp of the Cricut machine and let them both do their job. The Cricut pen and markers have a special ink that fuses with the base material during the sublimation process. During the sublimation process, when heat and pressure are applied, the solid ink in the pen goes through a chemical transformation and turns into a gas. The gas penetrates the base material and dries back into a solid state, becoming a part of the material. It won't peel off or crack, and the colors will stay bright even after many washes.
What is the Difference Between Cricut Pens and Markers?
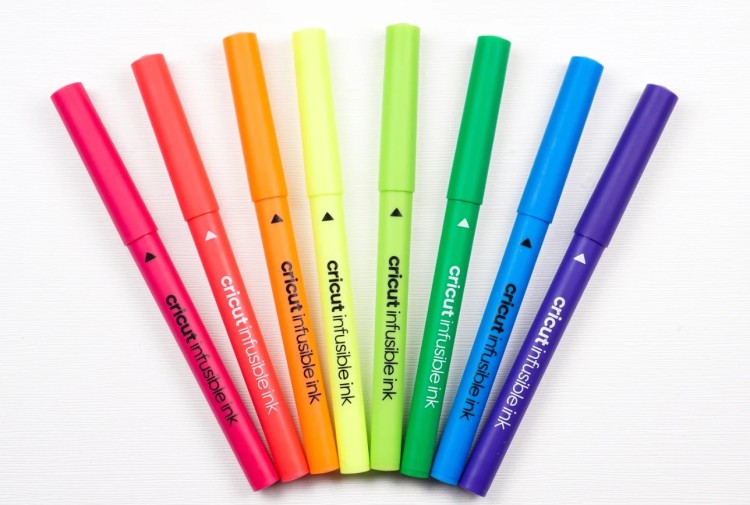
The only difference is the nib size; the invisible ink pens have a 4mm tip, whereas the infusible ink markers are 1mm thick. Use the ink pens to write and draw thin lines and the marker to fill in the designs drawn with the pens. Super fine lines aren't great with Infusible Ink Transfer Sheets, as cutting and weeding tiny lines is difficult, and it works best with thick solid images. The Cricut pens help you achieve the result where the transfer sheet failed. Both the pens and markers come in two colorways: traditional colors (green, red, black, purple, and brown) and neon brights (yellow, blue, green, pink, and orange).
What Supplies Do You Need for the Sublimation Process?
The first and foremost thing you will need is Cricut Infusible Ink pens and markers. A Cricut machine, Cricut compatible blanks, heat source, Cricut EasyPress mat, laser copy paper, LightGrip mat, heat resistant tape, butcher paper, Cardstock, scissors, lint roller (for fabric projects), and lint-free cloth (for coasters). Theoretically, any polyester or poly-coated base material will do the trick. However, Cricut only guarantees the brightness and durability of its blanks with infusible ink compatibility badges.
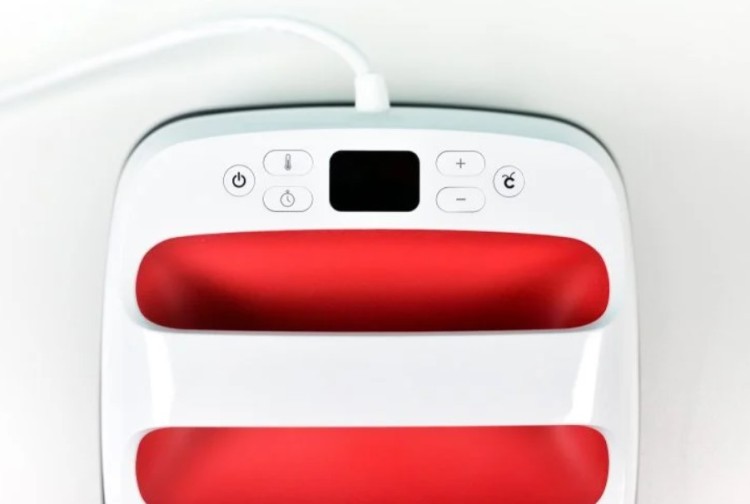
These blanks include T-shirts, tote Bags, coasters, and baby onesies. These compatible blanks have been through rigorous testing, so you can be ensured that you will get the best results. The infusible Ink system was calibrated to work with Cricut EasyPress 2. You could use a regular household iron, but it doesn't get enough infusible ink. Also, the heat is not evenly distributed. The Cricut EasyPress 2 can generate heat up to 400 degrees, which is the most appropriate temperature for most infusible ink applications.
The original EasyPress can generate heat up to 350 degrees, but it was not hot enough for infusible ink. You can still use it, but you may not get the desired results. Laser copy paper is designed to handle a high level of heat and has a special coating that keeps the ink from bleeding. You will need Butcher paper to protect the EasyPress machine from any escaped infusible ink. To protect the EasyPress mat from escaped Infusible Ink, use 80 lb or heavier Cardstock.
How to Customize a Blank T-shirt With Infusible Ink Pens & Markers?
The first step is choosing the Cricut-compatible blank (in this case, we are using a Cricut T-shirt) and any infusible ink pens or markers. Try to be creative by choosing thin pens and thick markers from the Basics and Neon color packs. The Next step is creating your design on the Design Space app. The infusible Ink pens can only draw your designs, so you need to use single-layer shapes without any 'fill.’ If you want your images to be colorful, you can color them by hand once Cricut does the outline drawing.
Click the 'Projects' button to create a pre-designed project. Size the image to fit the size of the t-shirt. In the space, attach all the graphic elements and click 'Make.’ Ensure to mirror your design before heat transfers. Choose 'copy paper' for your material. Into Clamp A, load the pen or marker suggested the pen or marker. Onto the LightGrip Mat, load a single sheet of laser copy and load the mat into the Cricut machine. Hit the Go button to start drawing. Once the machine finishes drawing, unload the mat and remove the paper from the mat.
Pre-heat EasyPress 2 to 400 degrees. Cut out the extra white space off the design to your blank. Place the piece of Cardstock inside the shirt and place the EasyPress mat between the Cardstock and the back of the shirt. Clean the T-shirt with a lint roller. On top of the shirt, place the butcher paper, then place the Cricut EasyPress 2 on top of your design for the recommended time. Lift EasyPress 2 carefully and let the shirt cool. Then carefully remove the tape and copy the paper.
Visit: cricut.com/setup
cricut.com setup mac
cricut design space setup
Comments
Post a Comment